
Pruning
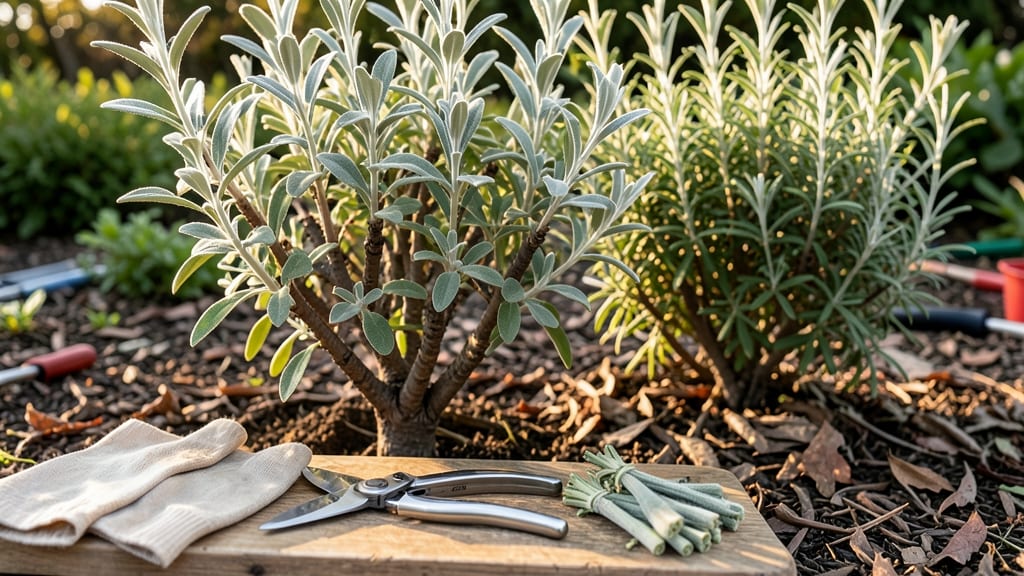
Pruning your sage bush isn’t just about keeping it tidy—it’s the secret to year-round growth that smells like a sunlit herb garden. 🌿 I’ve learned that timing and technique make all the difference, especially if you want that lush, bushy shape without sacrificing those fragrant leaves.
The right cuts encourage new growth while preventing woody stems that ruin the plant’s usefulness. Start with the basics: clean, sharp pruners and a clear morning (when sage is least stressed).
You’ll want to trim back about one-third of the plant’s height in early spring, right after the last frost but before new growth starts. Avoid pruning in fall—sage needs time to harden off before winter.
The goal is to shape it into a rounded form, cutting just above a leaf node to encourage branching. After pruning, your sage will reward you with tender new shoots within weeks, and the aroma will be stronger than ever.
Regular light trims throughout the year keep it compact and encourage dense foliage. Just avoid heavy pruning in late summer—it can stunt growth before winter. This method works for both culinary and ornamental sage varieties, whether you’re growing it in pots or the garden.
With consistent care, your sage will stay productive for years, providing fresh leaves for cooking and a fragrant addition to your landscape.
📚 In This Guide
- What you need
- Instructions
- Tips and common mistakes
- Wrapping up and next steps
What you need
- ● Pruning shears: Bypass pruners (sharp, clean, and sterilized with rubbing alcohol) to make precise cuts.
- ● Hand pruners: Smaller, ergonomic pruners for tight spaces (e.g., Felco F-2 or Bypass Hand Pruners).
- ● Loppers: For thicker stems (1.5–2 inches diameter)—opt for bypass loppers with long handles (e.g., Fiskars X27).
- ● Gloves: Garden gloves (nitrile-coated for grip) to protect against thorns and sap.
- ● Disposable pruning bags: 3–5 gallon-sized bags to collect clippings and prevent disease spread.
- ● Rubbing alcohol (70% isopropyl): Small bottle for sterilizing tools between cuts.
- ○ Sharpie or marker: Permanent marker to label cuttings for propagation (optional but handy!).
- ● Hedge shears: For large-scale shaping (e.g., Fiskars Ergo for 12–18-inch blades).
- ● Pruning saw: For thick, woody stems (>2 inches)—look for a curved blade (e.g., Felco F-27).
- ● Plant hormone rooting gel: If propagating cuttings (e.g., Dyna-Gro or Clonex).
- ● Spray bottle with water: To dampen cuttings if rooting indoors.
- ● Sun hat & sunscreen: Because pruning in the sun is no joke! ☀️
Step-by-Step guide to pruning sage bushes for year-round health
Here’s how I keep my sage bushes lush, compact, and thriving—no matter the season.
🌿 Step 1: Time Your Pruning for Optimal Growth
Prune sage bushes in early spring—just as new growth begins—when the plant is waking up from dormancy. This is the best time because you’re shaping the plant before it puts all its energy into leaf and stem production. Avoid pruning in late summer or fall, as this can stimulate tender new growth that won’t survive winter frosts.
If your sage looks leggy or overgrown in mid-summer, you can give it a light trim to encourage bushier growth, but avoid heavy cuts. Sage responds best to gradual shaping rather than drastic changes. Watch for new buds forming at the leaf joints—these are your pruning guides. Cut just above a set of healthy leaves to encourage branching.
✂️ Step 2: Use the Right Tools and Technique
Grab your clean, sharp pruning shears—dull blades tear stems and invite disease. I always sterilize my tools with rubbing alcohol before and after pruning to prevent spreading pathogens. Sage stems are woody and tough, so avoid using your hands or scissors; they’ll snap or crush the plant.
Start by removing dead, diseased, or crossing branches first. These compete with healthy growth and can block sunlight. Cut at a 45-degree angle about ¼ inch above a leaf node (the bump where leaves attach). This angle helps water run off the cut, reducing rot risk. Never leave stubs—they invite pests and fungal infections.
🌱 Step 3: Shape for Fullness and Airflow
Step back and assess the bush’s shape. Sage grows in a rounded form naturally, so aim to maintain that silhouette. Focus on thinning out the center—this improves airflow and sunlight penetration, which prevents fungal issues like powdery mildew. Remove any branches growing inward or rubbing against others; these create weak points.
For a more compact look, trim the outermost growth by about ⅓ of its length. This encourages bushier growth at the base. If your sage has become woody at the bottom, prune back to just above a healthy set of leaves. You’ll see new shoots emerge within 2-3 weeks—that’s your reward for proper pruning.
💧 Step 4: Post-Pruning Care for a Strong Recovery
After pruning, give your sage a deep watering to help it recover. The roots will need to support new growth, and moisture helps the plant adjust. Avoid overwatering, though—sage prefers well-draining soil and hates soggy roots. Mulch around the base with 2-3 inches of organic mulch (like shredded bark) to retain moisture and regulate soil temperature.
Keep the pruned sage in a sunny spot—at least 6 hours of direct sunlight daily. If you’ve cut back heavily, it may take a few weeks to bounce back, but new growth will be stronger. Fertilize lightly with a balanced, slow-release fertilizer (like 10-10-10) in early spring to support regrowth. Avoid heavy feeding after summer pruning, as it can stimulate tender growth before winter.
⏰ Step 5: Maintain Year-Round with Minimal Effort
Once your sage is shaped, minimal upkeep keeps it thriving. In winter, avoid pruning unless you spot dead or damaged branches from frost. Sage is hardy, but severe cold can kill back growth. If this happens, prune in early spring as new shoots emerge.
Every 2-3 years, give your sage a rejuvenation prune—cut back about ⅓ of the oldest wood to encourage fresh, vigorous growth. This keeps the plant youthful and prevents it from becoming woody and sparse. With this routine, your sage will stay lush, fragrant, and ready for harvest year after year.
Tips & tricks for perfect year-round sage pruning
Here’s what I’ve learned after years of keeping my sage bushes thriving—avoid these common pitfalls for healthy, fragrant plants.
Timing is Everything: That early spring timing in Step 1 is non-negotiable. I’ve ruined sage bushes by pruning too late—they just don’t bounce back like they should. If you miss early spring, wait until mid-summer for light trims only. The plant’s natural growth cycle is your guide: new buds appearing means it’s ready. Watch for those leaf joints to swell slightly—that’s your perfect cue.
Tool Prep Makes All the Difference: I can’t stress enough how important Step 2’s tool prep is. Dull shears create jagged cuts that invite disease, and I’ve seen sage bushes decline because of this. Keep rubbing alcohol on hand—it’s your best defense against spreading pathogens between plants. Pro tip: Wipe your shears with a damp cloth after each cut to prevent sap buildup that can harbor bacteria.
Shape with Purpose: When you’re thinning the center in Step 3, think of it like opening a window—you’re letting light and air circulate. I’ve noticed that sage bushes I prune this way stay greener longer, especially in humid summers. For that ⅓ trim on outermost growth, use your shears to make clean cuts rather than tearing. You’ll see the difference in how quickly new shoots appear—usually within those 2-3 weeks mentioned.
Recovery Care is Where Most Fail: The deep watering in Step 4 is often skipped, but it’s crucial. I’ve seen pruned sage wilt because people forget this step. Water thoroughly until it drains from the bottom, then let the soil dry slightly before watering again. That 2-3 inches of mulch isn’t just decoration—it’s insulation that keeps roots happy through temperature swings. And remember, sage hates soggy roots, so if your soil stays wet for more than a day, you’re overwatering.
Pro Tips for Prune Sage Bush
- Here’s what I’ve learned after years of keeping my sage bushes thriving—avoid these common pitfalls for healthy, frag...
- Timing is Everything: That early spring timing in Step 1 is non-negotiable. I’ve ruined sage bushes by pruning too la...
- Tool Prep Makes All the Difference: I can’t stress enough how important Step 2’s tool prep is. Dull shears create jag...
Frequently asked questions
Got questions about pruning your sage bush? You're not alone! Here are some of the most common concerns—plus quick, actionable answers to keep your plant thriving.
When is the best time to prune a sage bush?
The ideal time to prune sage is late winter or early spring, just before new growth begins. This helps shape the bush while avoiding late-season stress. For light shaping, you can also prune in early summer—just avoid heavy cuts after mid-July to prevent winter dieback.
How much can I trim back a sage bush?
For established sage, you can safely remove up to one-third of the plant in a single pruning session. Focus on dead, diseased, or overcrowded branches first, then thin out to improve airflow. Avoid "shearing" into a tight ball—sage grows best with an open, airy shape.
What if my sage bush looks sad after pruning?
Don’t panic! Sage is resilient. If leaves yellow or growth slows, it may need more sunlight (6+ hours daily) or well-draining soil. Water deeply but infrequently—overwatering is a common culprit. Give it 2–3 weeks to bounce back.
Can I propagate sage from pruned cuttings?
Take 4–6 inch cuttings from healthy stems, strip lower leaves, and dip in rooting hormone. Plant in sandy soil and keep moist (but not soggy). Place in bright, indirect light—roots should form in 4–6 weeks. A great way to multiply your sage stash!
Does pruning sage affect its flavor or culinary use?
Nope! Pruning focuses on growth and health, not flavor. In fact, regular pruning often enhances leaf production and potency. Just avoid heavy pruning right before harvest—let the plant recover for 2–3 weeks to maximize flavor.
| Quick Tip | Do This |
|---|---|
| Sterilize tools | Wipe pruners with rubbing alcohol between cuts to prevent disease. |
| Prune for sunlight | Thin dense areas to let light reach the center—sage hates shade. |
Wrapping up and next steps
Pruning your sage bush isn’t just about keeping it tidy—it’s the secret to vibrant growth, lush foliage, and a thriving plant that rewards you year after year! 🌿 Whether you’re trimming for shape, encouraging bushier growth, or preparing for winter, the right techniques make all the difference.
With the right tools, timing, and care, you’ll enjoy a sage bush that stays healthy, productive, and beautiful.
Now that you’re armed with the know-how, roll up your sleeves and get pruning! 💪 Start with a small session to build confidence, then expand your skills as you go. Happy gardening—your sage bush (and your kitchen!) will thank you.