
Pruning
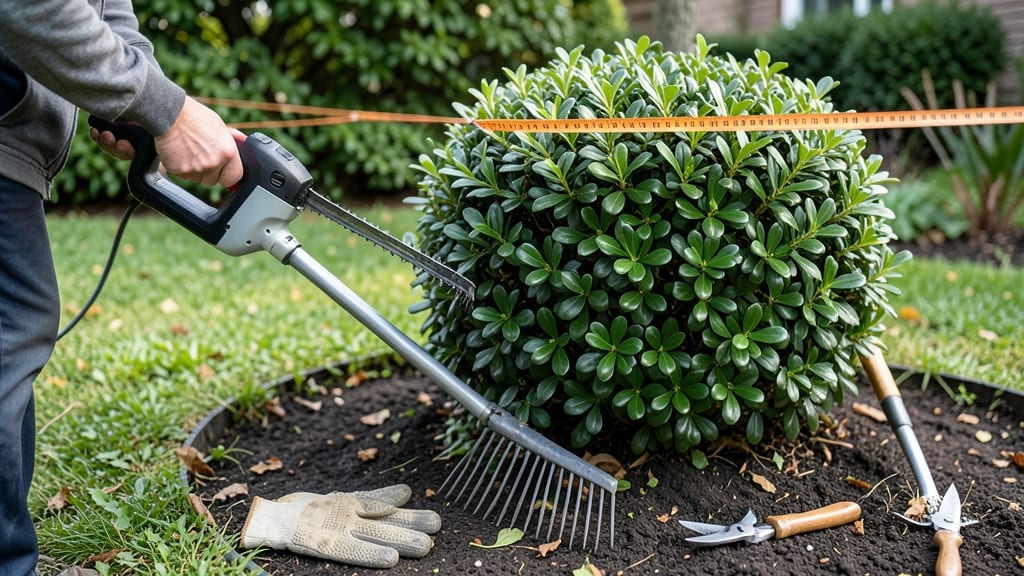
Trimming bushes with a hedge trimmer transforms your yard from shaggy to sharp in minutes—but doing it wrong can harm your plants. ✂️ I’ve spent years perfecting the technique, and the difference between a healthy bush and a stressed one often comes down to how you hold the trimmer, when you cut, and which direction you work.
The goal isn’t just neat edges; it’s encouraging fresh growth while avoiding those telltale brown patches that scream "overdone." Start by gathering your tools: a sharp, well-oiled trimmer, safety goggles, and pruning shears for touch-ups.
Work on a dry, calm day when the bush isn’t under stress—spring or early fall are ideal. If you’re shaping a formal hedge, mark your lines with stakes and string first. For natural-looking bushes, follow the plant’s natural growth pattern and step back often to check your progress.
The secret to clean cuts is slow, steady strokes—never rush. Angle the trimmer slightly upward to avoid tearing the bark, and overlap each pass by about ½ inch. For thick branches, make two cuts: one deep into the branch, then a second to remove it cleanly.
Over-trimming in one session weakens the bush, so aim to remove no more than ⅓ of the foliage at a time. Common mistakes like leaving uneven edges or cutting into old wood can stunt growth, but with practice, you’ll get the hang of it.
Once you master the basics, experiment with shapes—curved edges, rounded tops, or even a modern geometric look. Your bushes will thank you with lush, vibrant growth all season long.
📚 In This Guide
- What you need
- Instructions
- Tips and common mistakes
- Wrapping up and next steps
What you need
- ● Hedge Trimmer: Choose a corded or battery-powered model (20V or higher for durability). A 20-24" blade length works best for most bushes.
- ● Safety Gear: Safety glasses (ANSI-rated)
- ● Heavy-duty gloves (cut-resistant, like Mechanix or similar)
- ● Closed-toe shoes or boots (to protect feet from debris)
- ○ Extension Pole: Optional but handy for tall bushes (6+ feet). Look for a 3-6 ft. pole with a compatible trimmer head.
- ● Pruning Shears: For detailed shaping or hard-to-reach spots (bypass or anvil type, 6-8" blades).
- ● Loppers: For thicker branches (up to 2")—great for overgrown areas.
- ● Water & Snacks: Stay hydrated, especially on sunny days!
- ● Trash Bags: 2-3 heavy-duty bags (20-30 gallons) for clippings.
- ● Garden Hose or Broom: To clean up debris afterward.
- ○ Work Gloves (Optional):** If you prefer extra grip or comfort.
- ● String or Twine: For marking desired heights or patterns before trimming.
Step-by-Step instructions for trimming bushes with a hedge trimmer
Here's my foolproof method for clean, even cuts that keep your bushes looking sharp all season.
✂️ Step 1: Prepare Your Tools and Workspace
Start by inspecting your hedge trimmer for any dull blades or tangled lines—sharp blades make all the difference. I always check the oil level first (if your model requires it) and give the blade a quick wipe-down to remove sap or debris. Clear the area of rocks, twigs, or anything that could damage the trimmer or get caught in the blades.
Wear safety goggles and gloves to protect against flying debris. I like to work on a dry day when bushes are less likely to be damp—wet foliage clogs blades faster and makes cuts uneven. If you're working on a slope, use a small ladder with a stable platform, but never stand on the top rung. Safety first!
☀️ Step 2: Start Trimming from the Bottom Up
Begin at the base of the bush and work your way upward in smooth, overlapping strokes. Hold the trimmer at a 45-degree angle for clean cuts, and keep the blade moving continuously—stopping mid-stroke creates jagged edges. For thick branches, I make two passes: first on one side, then flip the trimmer and repeat on the other.
Watch for natural growth patterns. If a section looks uneven, pause and adjust the angle slightly. You'll know you're doing it right when the cuts look like they were made with a ruler. Avoid cutting too close to the trunk—leave about ½ inch of space to prevent damage to the main stem.
🌿 Step 3: Shape the Bush in Sections
Divide the bush into manageable sections—top, middle, and bottom—and tackle one at a time. For formal hedges, I use a string line or a straight board as a guide to keep edges perfectly straight. Hold the trimmer firmly but not too tightly, and let the blades do the work. If you're trimming a rounded bush, follow the natural curve of the growth.
Step back every few minutes to check your progress. You'll spot uneven spots immediately from a distance. For dense bushes, trim in layers: first the outer edges, then the interior. This prevents over-trimming and keeps the bush full and lush. Never remove more than ⅓ of the bush's foliage in one session—this stresses the plant.
⏰ Step 4: Clean Up and Maintain Your Tools
After trimming, rake up all the clippings to keep your yard tidy and prevent disease. I like to compost the healthy green trimmings—just avoid piling them too thickly, or they'll mat down and create a breeding ground for pests. Wipe down the trimmer blades with a damp cloth to remove sap, then apply a light coat of oil if your model requires it.
Sharpen the blades if you notice uneven cuts or the trimmer struggling. A dull blade tears foliage instead of cutting cleanly. Store your trimmer in a dry place, and always empty the fuel tank if it's gas-powered. I keep mine in a shed with a moisture absorber to prevent rust. A well-maintained trimmer lasts seasons and makes future trims effortless.
💧 Step 5: Water and Monitor Your Bushes
Give your bushes a deep watering after trimming to help them recover. I water in the early morning so the foliage has time to dry before evening. Watch for signs of stress like wilting or yellowing leaves—these can indicate over-trimming or thirst. If you see new growth starting to lean, it means the bush is adjusting to its new shape.
Plan to trim again in 4-6 weeks, depending on growth speed. Regular maintenance keeps bushes healthy and prevents the need for drastic cuts later. I mark my calendar with a reminder so I don’t let trimming slip. A little effort now means your bushes stay vibrant and well-shaped all season long.
Tips & tricks for perfect bush trimming
These simple strategies will help you achieve professional-looking results every time you reach for your hedge trimmer.
Angle is Everything: That 45-degree angle in Step 2 isn't just a suggestion—it's what creates those clean, sharp edges. Practice holding the trimmer at this angle before you start cutting. I like to visualize drawing a straight line diagonally across the bush to maintain consistency. For extra precision, hold the trimmer like a pencil between your thumb and index finger rather than gripping it tightly.
Layering Technique: When you're working on dense bushes in Step 3, think of it like peeling an onion—start with the outer edges first, then move inward. This prevents over-trimming and keeps the bush looking full and healthy. I find it helpful to mentally divide the bush into thirds (top, middle, bottom) before I begin. This systematic approach makes the job feel more manageable and ensures even coverage.
Safety First: Never skip the safety prep in Step 1, especially when working on slopes. I've seen too many people try to balance on ladders while operating trimmers—it's a recipe for disaster. If you're working at height, consider using a ladder stabilizer or having someone spot you. And always double-check that your gloves fit snugly; loose gloves can get caught in the blades. The few extra minutes spent prepping will prevent costly accidents.
Seasonal Timing: The 4-6 week maintenance schedule in Step 5 works best if you start with fresh growth in spring. Trim just as new shoots begin to appear—this gives the bush time to recover before winter. I mark my calendar with reminders for late spring, summer, and early fall trims. This regular schedule prevents the need for drastic cuts later and keeps your bushes looking their best year-round.
Pro Tips for Trim Bushes With Hedge Trimmer
- These simple strategies will help you achieve professional-looking results every time you reach for your hedge trimmer.
- Angle is Everything: That 45-degree angle in Step 2 isn't just a suggestion—it's what creates those clean, sharp edges.
- Layering Technique: When you're working on dense bushes in Step 3, think of it like peeling an onion—start with the outer edges first, then move inward.
Frequently asked questions
Got questions about trimming bushes like a pro?
Here are answers to the most common concerns—so you can tackle your hedges with confidence and ease.
What’s the best time of year to trim bushes with a hedge trimmer?
For most shrubs, late spring or early summer (after flowering) is ideal. Evergreens can be trimmed lightly in early spring, while flowering bushes should wait until after blooms fade. Avoid heavy trims in fall or winter, as new growth may not harden off before cold snaps. Always check your plant’s specific needs!
How do I avoid damaging my bushes while trimming?
Start by trimming just the outer layer to shape, never cutting into old wood. Use sharp blades (dull blades tear foliage) and follow the plant’s natural growth pattern. For thick hedges, trim in layers—light passes first, then deeper cuts. And never trim more than 1/3 of the bush at once to prevent stress.
Can I use a hedge trimmer on all types of bushes?
Hedge trimmers work best on dense, woody shrubs like boxwood, privet, or yew. For delicate plants (e.g., hydrangeas, roses, or flowering shrubs), use hand pruners or loppers instead. Avoid trimming broadleaf evergreens like holly or magnolia with a trimmer—they bruise easily. When in doubt, research your plant’s care needs!
Why does my hedge trimmer keep jamming or getting stuck?
Jamming usually happens from overloaded blades or dull or bent teeth. Stop immediately, clear debris, and check for:
- Blade alignment: Teeth should mesh evenly.
- Sharpness: Dull blades require more force.
- Over-trimming: Take lighter passes to reduce strain.
How often should I trim my bushes to keep them neat?
For formal hedges, trim every 4–6 weeks during the growing season. Informal shrubs need less frequent shaping—2–3 times per year (spring, summer, and a light touch in fall). The key is consistency: Regular light trims encourage bushier growth, while neglect leads to wild, unruly shapes. Adjust based on your plant’s growth rate!
Wrapping up and next steps
Trimming bushes with a hedge trimmer doesn’t have to be a daunting task—just follow the right steps, prioritize safety, and embrace patience for flawless results every time! 🌿 With the right tools, technique, and a little practice, you’ll transform your yard into a well-manicured oasis in no time.
Ready to take your landscaping skills to the next level? Start small—pick one bush or section and practice your technique. Before you know it, you’ll be tackling the whole yard with confidence! 💪