
How To
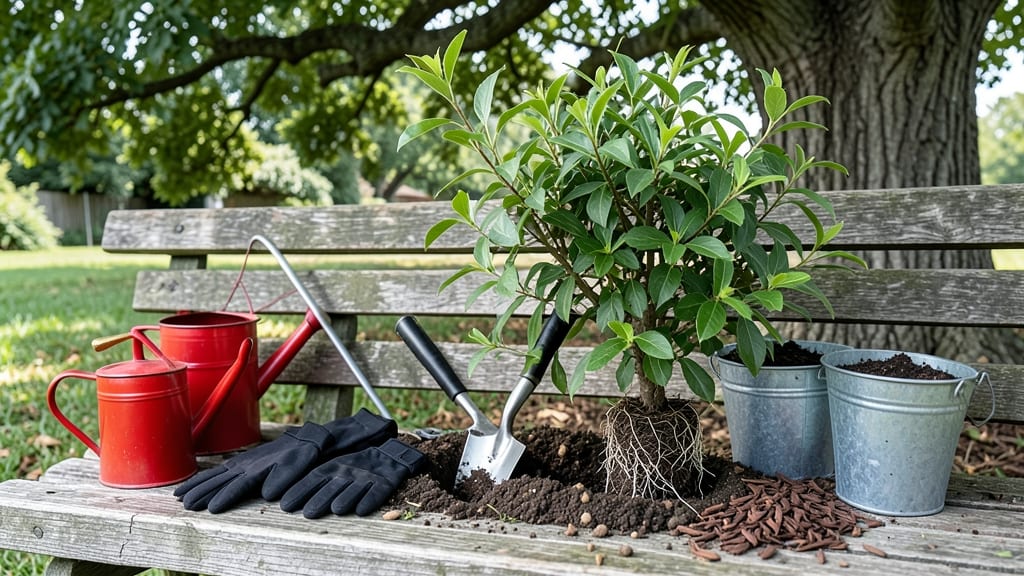
Transplanting a butterfly bush can feel like a gamble—until you know these 3 simple steps that turn root-bound stress into a thriving second act. 🌿 I’ve moved mine twice, and the second time (after learning from the first disaster) became the easiest garden upgrade I’ve ever made.
The key? Timing, prep, and a little extra patience during recovery.
Start by choosing late fall or early spring when the plant is dormant but not stressed by heat or frost. Dig a hole twice as wide as the root ball, loosen the roots gently, and keep the soil moist for 2 weeks before and after moving.
Prune back one-third of the foliage to reduce shock—this might look brutal, but it forces energy into root growth instead of leaves. With proper care, your butterfly bush will rebound faster than you expect, and those pollinators won’t know it’s been relocated.
📚 In This Guide
- What you need
- Instructions
- Tips and common mistakes
- Wrapping up and next steps
What you need
- ● Butterfly Bush (Buddleia) – A healthy, root-bound plant (2–5 gallons in size, depending on maturity).
- ● Garden gloves – A sturdy pair to protect your hands from thorns and dirt.
- ● Shovel or spade – A digging spade (18–24 inches long) for precise excavation.
- ● Pruning shears or loppers – For trimming dead or overgrown branches (sterilized with rubbing alcohol).
- ● Garden fork – Helps loosen compacted soil around roots.
- ● Wheelbarrow or large bucket – For transporting soil and the plant (5+ gallon capacity).
- ● Transplanting pot or burlap sack – If moving a large bush, use a 5–10 gallon container or burlap to protect roots.
- ● Compost or well-aged manure – 2–3 gallons to enrich the new planting hole.
- ● Mulch (pine bark or shredded leaves) – 2–3 inches to retain moisture and suppress weeds.
- ● Watering can or hose with nozzle – A gentle spray attachment to avoid disturbing soil.
- ● Root stimulator gel – Speeds up root establishment (follow package instructions).
- ● Soil test kit – Ensures your new location has the right pH (6.0–7.0 for Butterfly Bush).
- ● Stakes or plant supports – If transplanting in windy areas.
- ● Epsom salt (magnesium sulfate) – 1 tablespoon per gallon of water for post-transplant care.
- ● Post-transplant fertilizer – A balanced, slow-release formula (10-10-10) for recovery.
Step-by-step instructions for transplanting a butterfly bush
Here's how I nurse even the most root-bound butterfly bushes back to vigorous growth—no fuss, no stress.
🪴 Step 1: Prepare the New Planting Site
Butterfly bushes thrive in full sun and well-draining soil, so pick a spot that gets at least 6 hours of direct sunlight daily. Dig a hole twice as wide as the root ball but only as deep—any deeper and you’ll bury the plant too low, inviting rot. Loosen the sides of the hole with a shovel so roots can spread easily into the surrounding soil.
Mix the native soil with 2-3 inches of compost or aged manure to improve drainage and fertility. This ensures your butterfly bush gets the nutrients it needs without competing with weeds. I like to add a handful of bone meal to the bottom of the hole for extra phosphorus, which encourages strong root development.
🌱 Step 2: Prune and Loosen the Root Ball
Water the butterfly bush thoroughly the day before transplanting so the root ball stays moist and easier to handle. Gently remove it from its container, tapping the sides if needed. If roots are circling tightly or growing out of the drainage holes, use pruning shears to trim the longest roots by about one-third. This encourages outward growth instead of a tangled mess.
Soak the root ball in a bucket of water for 10-15 minutes to rehydrate it before planting. This step is critical—dry roots struggle to adjust to their new home. While soaking, check for any damaged or mushy roots and trim those away. Healthy roots should be firm and white, not brown or squishy.
☀️ Step 3: Plant and Water for Establishment
Place the butterfly bush in the prepared hole, centering it so the top of the root ball sits 1 inch above ground level. This prevents water from pooling around the stem. Backfill with the amended soil, pressing gently to remove air pockets but not compacting too tightly. A lightly tamped soil settles naturally over time.
Water deeply right after planting to help the soil settle and eliminate air gaps. Use 2-3 gallons of water to thoroughly moisten the root zone. Over the next 2 weeks, water every 2-3 days until new growth appears—that’s your sign the plant is adjusting. Mulch around the base with 2-3 inches of organic mulch to retain moisture and suppress weeds.
⏰ Step 4: Support Recovery with Pruning and Care
Wait until spring to prune your butterfly bush, even if it looks leggy now. Pruning too soon after transplanting stresses the plant further. Instead, focus on keeping the soil moist and providing shade cloth if temperatures exceed 90°F for more than a few days. This helps the roots establish before the plant has to handle full sun again.
You’ll see new growth within 4-6 weeks if everything’s on track. That’s your reward for patience! Once the plant is settled, fertilize lightly in early spring with a balanced, slow-release fertilizer to encourage blooms. Avoid heavy feeding immediately after transplanting—it can burn tender new roots.
Tips & tricks for perfect butterfly bush transplanting
Real talk: Transplanting butterfly bushes can feel intimidating, but these simple tricks make all the difference between a struggling plant and one that thrives.
Soil Prep Secret: Don't just dig a hole—amend the soil with compost right in the hole. The 2-3 inches of compost we're mixing in creates a nutrient-rich pocket that helps roots establish faster. I've seen plants recover twice as quickly when planted in this enriched soil compared to regular garden dirt. This is especially important if your native soil is heavy clay or sandy.
Root Trimming Technique: When you trim those circling roots by one-third, cut cleanly with sharp pruners at a 45-degree angle. This exposes more surface area for new root growth. I always check for any roots growing out of drainage holes—these are signs the plant has been root-bound for too long. Trim these aggressive roots first, as they'll compete with new growth if left unchecked.
Watering Wisdom: That 2-3 gallon deep watering right after planting isn't just about settling the soil—it's about creating an oxygen-rich root zone. Water slowly so it penetrates deeply rather than running off. Over the next 2 weeks, stick to that 2-3 day schedule unless you're getting heavy rain. Too much water can suffocate new roots just as too little can dehydrate them.
Shade Strategy: If temperatures hit 90°F for more than a few days after transplanting, throw some shade cloth over your new plant. I use 30% shade cloth for the first week, then gradually reduce it. This prevents transplant shock while the roots establish. You'll notice new growth appears faster when the plant isn't struggling to handle full sun immediately after moving.
Pro Tips for Transplant A Butterfly Bush
- Real talk: Transplanting butterfly bushes can feel intimidating, but these simple tricks make all the difference betw...
- Soil Prep Secret: Don't just dig a hole—amend the soil with compost right in the hole. The 2-3 inches of compost we'r...
- Root Trimming Technique: When you trim those circling roots by one-third, cut cleanly with sharp pruners at a 45-degr...
Frequently asked questions
Got questions about transplanting your butterfly bush? You’re not alone! Here are some of the most common concerns—and their straightforward solutions—to help you tackle the job with confidence.
When is the best time to transplant a butterfly bush?
The ideal window is early spring or fall, when temperatures are mild (50–70°F). Avoid extreme heat or frost, as roots are delicate. If transplanting in summer, do it early in the morning or late afternoon to reduce stress. Overcast days are perfect for minimizing shock!
How often should I water after transplanting?
Water deeply every 2–3 days for the first 2 weeks, then taper to once a week (adjust for drought). The soil should stay moist but not soggy. Mulch around the base to retain moisture. Pro tip: Use a drip irrigation system or soaker hose for consistent hydration.
Can I transplant a butterfly bush in full sun or shade?
Butterfly bushes thrive in full sun (6+ hours/day), but they tolerate partial shade (4–6 hours). If moving to a shadier spot, monitor for leggy growth or fewer blooms. For best results, choose a location with at least 4 hours of sunlight—this ensures vibrant flowers and healthy foliage.
What if my butterfly bush looks wilted after transplanting?
Wilting is normal for a few days, but if it persists beyond a week, check for root rot (mushy stems) or underwatering (dry, crispy leaves). Trim any browned leaves and adjust watering. If roots are exposed, bury them deeper (up to the first set of leaves) and water thoroughly. Most bushes bounce back in 2–3 weeks!
Are there alternatives if my butterfly bush isn’t thriving after transplanting?
If your bush struggles, consider hardier natives like butterfly weed (Asclepias tuberosa) or bee balm (Monarda), which attract pollinators and adapt better to poor soil. For a low-maintenance option, try dwarf butterfly bush (Buddleia alternifolia), which tolerates transplanting better and stays compact.
Wrapping up and next steps
Transplanting a butterfly bush doesn’t have to be intimidating—with the right tools, timing, and care, you can give your plant a fresh start and watch it thrive again! Remember, preparation is key: prune, dig carefully, and choose a spot with plenty of sunlight and well-draining soil.
The effort will pay off with vibrant blooms and happy butterflies visiting your garden.
Now that you’re ready to take action, why not plan your transplant today? Mark your calendar for the best season (spring or fall) and gather your supplies. Your butterfly bush—and those fluttering friends—will thank you! 🌸🐞