
Pruning
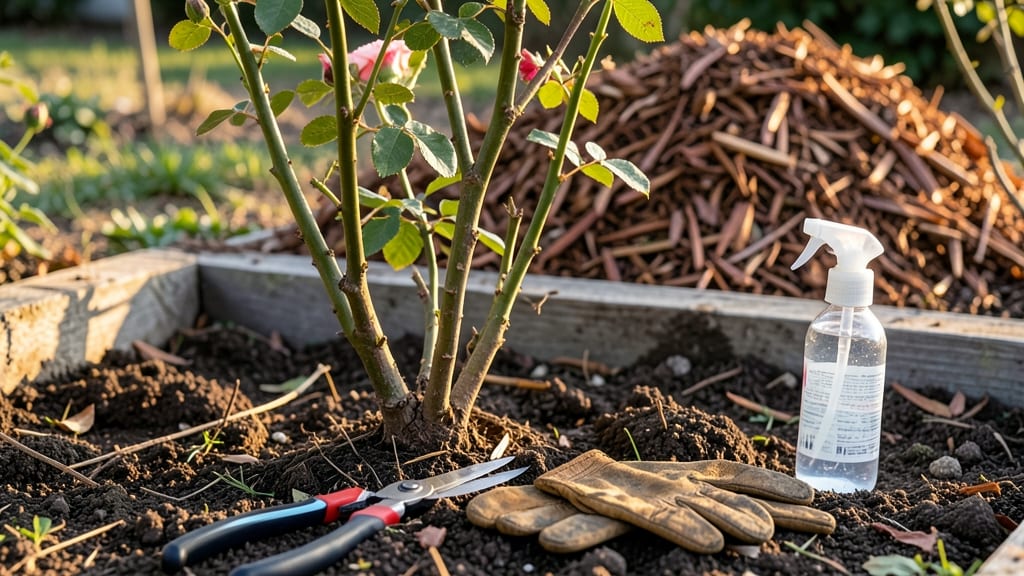
Cutting back rose bushes in spring isn't just about shaping—it's the secret to vibrant blooms all season. ✂️ I learned the hard way that pruning too late means missing out on the first flush of flowers, while cutting too early leaves them vulnerable to frost.
The perfect timing window is just after your last frost date, when buds swell but haven't broken yet.
You'll need sharp bypass pruners (dull blades crush stems), clean rubbing alcohol for disinfecting cuts, and thick gardening gloves to handle thorns without frustration. The goal is to remove dead, diseased, or crossing branches first, then open the center for airflow—this prevents fungal issues that ruin blooms.
Most roses respond best to a 30-50% reduction in height, but hybrid teas need more aggressive cuts than shrub roses.
After pruning, feed your roses with a balanced fertilizer to fuel new growth, then top with 2-3 inches of mulch to retain moisture and suppress weeds. The results? Bushes that look neat and energized, with stronger canes that support heavier blooms.
I've gone from struggling with floppy, sparse roses to bushes that practically glow with flowers by June.
For cooler climates (zones 3-5), wait until early May when soil warms; in warmer zones (6-9), late February works. The key is watching the buds—not the calendar. And remember: if you see fresh green growth at the base, you've waited too long.
That's the signal to grab your pruners and get to work before the season slips away.
📚 In This Guide
- What you need
- Instructions
- Tips and common mistakes
- Wrapping up and next steps
What you need
- ● Bypass pruners – Sharp, clean pruners (4-6" blades) for clean cuts on smaller stems.
- ● Loppers – Heavy-duty loppers (8-10" blades) for thicker branches (½"–1½" diameter).
- ● Pruning saw – For stubborn, thick stems (1½"+ diameter). A bow saw or pruning saw works best.
- ● Garden gloves – Heavy-duty, cut-resistant gloves (e.g., mechanized or leather) to protect your hands from thorns.
- ○ Disinfectant – 70% isopropyl alcohol or a pruning sealant (optional but recommended to prevent disease spread).
- ● Hand pruners with a bypass blade – For precision trimming of tiny shoots.
- ● Rubbing alcohol wipes – Quick cleanup between cuts to sterilize tools.
- ● Garden twine or zip ties – To secure large branches temporarily if needed.
- ● Compost bin or bag – For collecting pruned debris (avoid composting diseased wood).
- ● Knee pads or a small stool – For comfort if your roses are tall or sprawling.
- ● Dry weather – Wait for a dry day (no rain forecast for 24 hours) to prune—wet wood splinters and invites disease.
- ● Sharp tools – Always sharpen blades before starting (dull tools crush stems, causing damage).
- ● Safety gear – Sunglasses (to shield from debris) and closed-toe shoes.
- ● Know your rose type – Research if your roses are hybrid teas, climbers, shrub, or old garden roses—pruning techniques vary slightly!
Step-by-step instructions for cutting back rose bushes in spring
Here's how I transform my roses from winter's bare branches into vibrant blooming powerhouses.
✂️ Step 1: Wait for the Right Time to Prune
Never prune before your last frost date—wait until new growth appears, usually when daytime temperatures stay above 50°F consistently. I test by gently scraping bark with my fingernail; if green shows underneath, it's time. Pruning too early invites disease through fresh cuts.
Mornings are ideal because the plant's moisture levels are balanced. Avoid pruning after rain or when evening dew is heavy—wet wood splinters and invites fungal infections. If you missed the window, wait until after the first flush of blooms in early summer.
🌿 Step 2: Gather Your Tools and Sanitize
Use only sharp, clean pruners—dull blades tear stems and create jagged wounds that heal poorly. I keep a small bottle of 70% rubbing alcohol handy to wipe blades between cuts. Disinfecting prevents spreading diseases like black spot from one branch to another.
Grab a pair of gloves too—roses have thorns that can draw blood, and some varieties have leaves that cause skin irritation. A small bucket for trimmings and a permanent marker help organize your work. I always lay down cardboard or a tarp first to make cleanup easier.
✂️ Step 3: Remove Dead, Diseased, or Weak Wood
Start by cutting out any blackened, mushy, or hollow stems—these won't recover. Look for canes that are thinner than a pencil or growing straight up with no branches; these are called "watersprouts" and should be removed at the base. I make my first cuts about ¼ inch above a healthy outward-facing bud.
Next, find the thickest, healthiest canes—they're your plant's framework. Leave 3-5 of these per bush, cutting back the oldest ones first. You'll see the remaining canes have smooth bark and green underneath when scraped. Never leave stubs—always cut at a clean angle just above the bud.
☀️ Step 4: Shape the Bush for Airflow and Light
Step back and visualize your rose as a vase shape—wider at the base, narrowing toward the top. I aim for an open center that lets sunlight and air circulate freely. Cut back the remaining canes to 18-24 inches tall, making each cut ¼ inch above an outward-facing bud.
For climbing roses, remove about ⅓ of the oldest canes completely, then cut the remaining ones back to 12-18 inches. The goal is to encourage new growth from the base. If you see any suckers growing from the base, remove them immediately—they drain energy from your main plant.
🌱 Step 5: Clean Up and Apply Post-Pruning Care
Rake up all trimmings and dispose of them in the trash—not the compost—because diseased wood can reinfect your garden. I always give the bush a final inspection for any missed dead spots or thorny growth that might harbor pests.
After pruning, water deeply to help the plant recover. Apply a balanced fertilizer (10-10-10) around the base, keeping it 6 inches away from the stem. New growth will appear within 2-3 weeks, signaling your rose is healing. Mulch with 2-3 inches of organic matter to retain moisture and protect roots.
Tips & tricks for pruning rose bushes like a pro
Transforming your roses into lush, blooming beauties starts with these essential pruning secrets that'll make all the difference.
Timing is Everything: The 50°F temperature threshold isn't just a suggestion—it's when your rose's sap starts flowing again. I've learned the hard way that pruning too early can shock the plant, especially in colder climates where late frosts still sneak in. If you're unsure about your last frost date, check your local agricultural extension service—they provide precise local data that'll save you from costly mistakes.
Tool Sharpness Matters More Than You Think: I used to think any old pruners would do, but after years of struggling with ragged cuts that healed poorly, I invested in a good pair of bypass pruners. The clean cuts they make heal faster and look more professional. For thicker canes over pencil thickness, I use my loppers—just make sure they're sharp too! A quick test is to cut a piece of paper with your pruners; if it tears instead of cuts cleanly, it's time to sharpen them.
Visualizing the Vase Shape: When shaping your rose bush, step back frequently to visualize that ideal vase shape. I mark the 18-24 inch height with a small stake in the ground to use as a guide. For climbing roses, I actually sketch a quick diagram before starting—this helps me visualize where to make those critical cuts to 12-18 inches. The open center isn't just for looks; it's what allows sunlight and air to reach all parts of the plant, preventing fungal diseases that can ruin your blooms.
Post-Pruning Inspection is Non-Negotiable: That final inspection step in Step 5 is where most people cut corners, but it's absolutely critical. I've seen rose bushes that looked perfectly pruned only to develop black spot later because we missed a few diseased canes. Take your time here—run your hands through the bush, check the undersides of leaves, and examine every cut. If you find any questionable spots, don't hesitate to make additional cuts. Your future blooms will thank you!
Pro Tips for Cutting Back Rose Bushes In Spring
- Transforming your roses into lush, blooming beauties starts with these essential pruning secrets that'll make all the...
- Timing is Everything: The 50°F temperature threshold isn't just a suggestion—it's when your rose's sap starts flowing...
- Tool Sharpness Matters More Than You Think: I used to think any old pruners would do, but after years of struggling w...
Frequently asked questions
Got questions about pruning your roses? You’re not alone! Here are some of the most common concerns—and their answers—to help you tackle spring pruning with confidence.
When is the exact best time to cut back roses in spring?
The ideal window is after the last frost (when soil is workable) but before new growth starts—typically late March to early May in most U.S. zones. Wait too long, and you’ll risk encouraging pests or disease. Pro tip: Check your local frost dates or prune when forsythia blooms signal spring’s arrival!
How much should I cut back my roses? Is there a rule?
For most roses, aim to remove 1/3 of the plant’s height and cut just above an outward-facing bud (about ¼ inch above). Hybrid teas and grandifloras can be pruned aggressively to encourage blooms, while climbers/ramblers need less drastic cuts. Warning: Never cut into old wood—it won’t regrow!
What if my roses look sad or bare after pruning?
Don’t panic! Healthy roses may appear skeletal at first but will bounce back with fresh growth in 4–6 weeks. If you see no new buds forming after 2 weeks, check for pests (aphids, spider mites) or fungal issues (black spot). Fix it: Spray with neem oil or a fungicide if needed.
Can I prune roses in pots or container-grown bushes differently?
Container roses follow the same rules, but since they’re root-bound, prune lightly (10–20%) to avoid stress. After pruning, refresh the soil with compost and water deeply. Bonus: Container roses often bloom earlier—perfect for patio displays!
What if I missed spring pruning? Can I still fix it?
Yes! If you skipped spring, prune in early summer (June) to shape the bush and remove dead wood. Skip heavy cuts—focus on cleaning up. For next year, mark your calendar: Spring = prune. Summer = deadhead. Fall = light cleanup.
Still stumped? Snap a photo of your roses and ask in garden forums—most pruning mistakes are easy to spot (and fix)!
Wrapping up and next steps
Cutting back your rose bushes in spring isn’t just about tidying up—it’s the secret to vibrant blooms and robust growth next season! With the right tools, timing, and technique, you’ll give your roses the fresh start they deserve.
Remember, confidence comes with practice, so don’t hesitate to roll up your sleeves and get pruning.
Ready to see your garden thrive? Grab your pruners and schedule your next pruning session—your roses will thank you with lush, beautiful flowers all year long! 🌸✂️